
Building Your First ESP32-S3 Project: DevKitC-1 Dual Type-C vs. UNO Form Factor Compared
So you've decided to jump into the world of ESP32-S3 development. Smart move! This little chip packs WiFi, Bluetooth 5 (LE), vector instructions for AI workloads, and enough GPIO to make a Raspberry Pi jealous. But here's the catch: the moment you start shopping, you'll notice there are two very different-looking boards staring back at you — the DevKitC-1 with dual Type-C ports, and the UNO-style board that looks suspiciously like your old Arduino. Which one should you actually buy for your first ESP32-S3 project? Let's break it down, no fluff, no jargon overload.
Why the ESP32-S3 Is a Fantastic First Board
Before we get into form factors, let's talk about why the ESP32-S3-N16R8 is such a sweet spot. That "N16R8" suffix means 16MB of flash and 8MB of PSRAM — which is a ridiculous amount of memory for a microcontroller. You can run LVGL GUIs, stream camera data, host a web server, or even do basic machine learning inference without breaking a sweat. Both boards we're comparing today use this exact chip, so the real decision comes down to physical layout and workflow, not raw power.
The Contenders: DevKitC-1 Dual Type-C vs. UNO Form Factor
1. ESP32-S3-N16R8 DevKitC-1 Dual Type-C (Unassembled)
This is the board Espressif themselves designed. The ESP32-S3-N16R8 DevKitC-1 Dual Type-C development board is the reference design — meaning it's the most well-documented, most community-supported, and most predictable board you can buy. The dual USB-C ports are the star of the show: one is native USB (for JTAG debugging and USB serial), the other is UART (for flashing and power). This means you can debug your code while watching serial output, which is a game-changer when you're chasing down a nasty bug.
One thing to note: it ships unassembled, meaning you'll need to solder the header pins yourself. For a first-timer, that's actually a nice little warm-up project. Grab a decent iron, some flux, and take your time.
2. ESP32-S3 N16R8 UNO Development Board
Now here's the crowd-pleaser. The ESP32-S3 N16R8 UNO development board with WiFi & Bluetooth takes the same powerful chip and drops it onto the classic Arduino UNO footprint. If you've ever used an Arduino, this will feel instantly familiar. All your existing UNO shields, breadboard setups, and sensor modules will plug right in — no jumper wire gymnastics required.
The trade-off? You only get one USB-C port, and the layout is a bit more compact, which can make accessing certain GPIO pins trickier. But for breadboard prototyping and shield compatibility, it's hard to beat.
Which One Should You Pick?
Here's my honest advice:
- Choose the DevKitC-1 if you want the most reliable, best-documented experience, plan to use JTAG debugging, or want to follow official Espressif tutorials without translation headaches.
- Choose the UNO form factor if you already own Arduino shields, love breadboard-friendly layouts, or want a board that just looks less intimidating on your desk.
Honestly? Both are excellent. If you're truly torn, grab the DevKitC-1 first — it's the reference board for a reason.
Must-Have Modules for Your First Project
Whichever board you pick, a bare microcontroller gets boring fast. Here are three modules that pair beautifully with an ESP32-S3 and will make your first project feel like a real product.
OLED Display + Rotary Encoder Combo
The OLED Display I2C 1.3 Inch Module with EC11 Rotary Encoder is basically a cheat code for building user interfaces. The 1.3" OLED is crisp and readable, and the EC11 encoder gives you that satisfying clicky knob for menus and settings. Perfect for a WiFi scanner, a weather station, or a custom smart home controller.
Color TFT for Richer Visuals
If you want something more colorful, the 1.47-inch TFT color display with 172x320 dot matrix, driven by ST7789, SPI interface is a fantastic choice. SPI means fast refresh rates, and the ST7789 driver has excellent library support on the ESP32-S3. Great for dashboards, gauges, or even simple games.
LoRa for Long-Range IoT
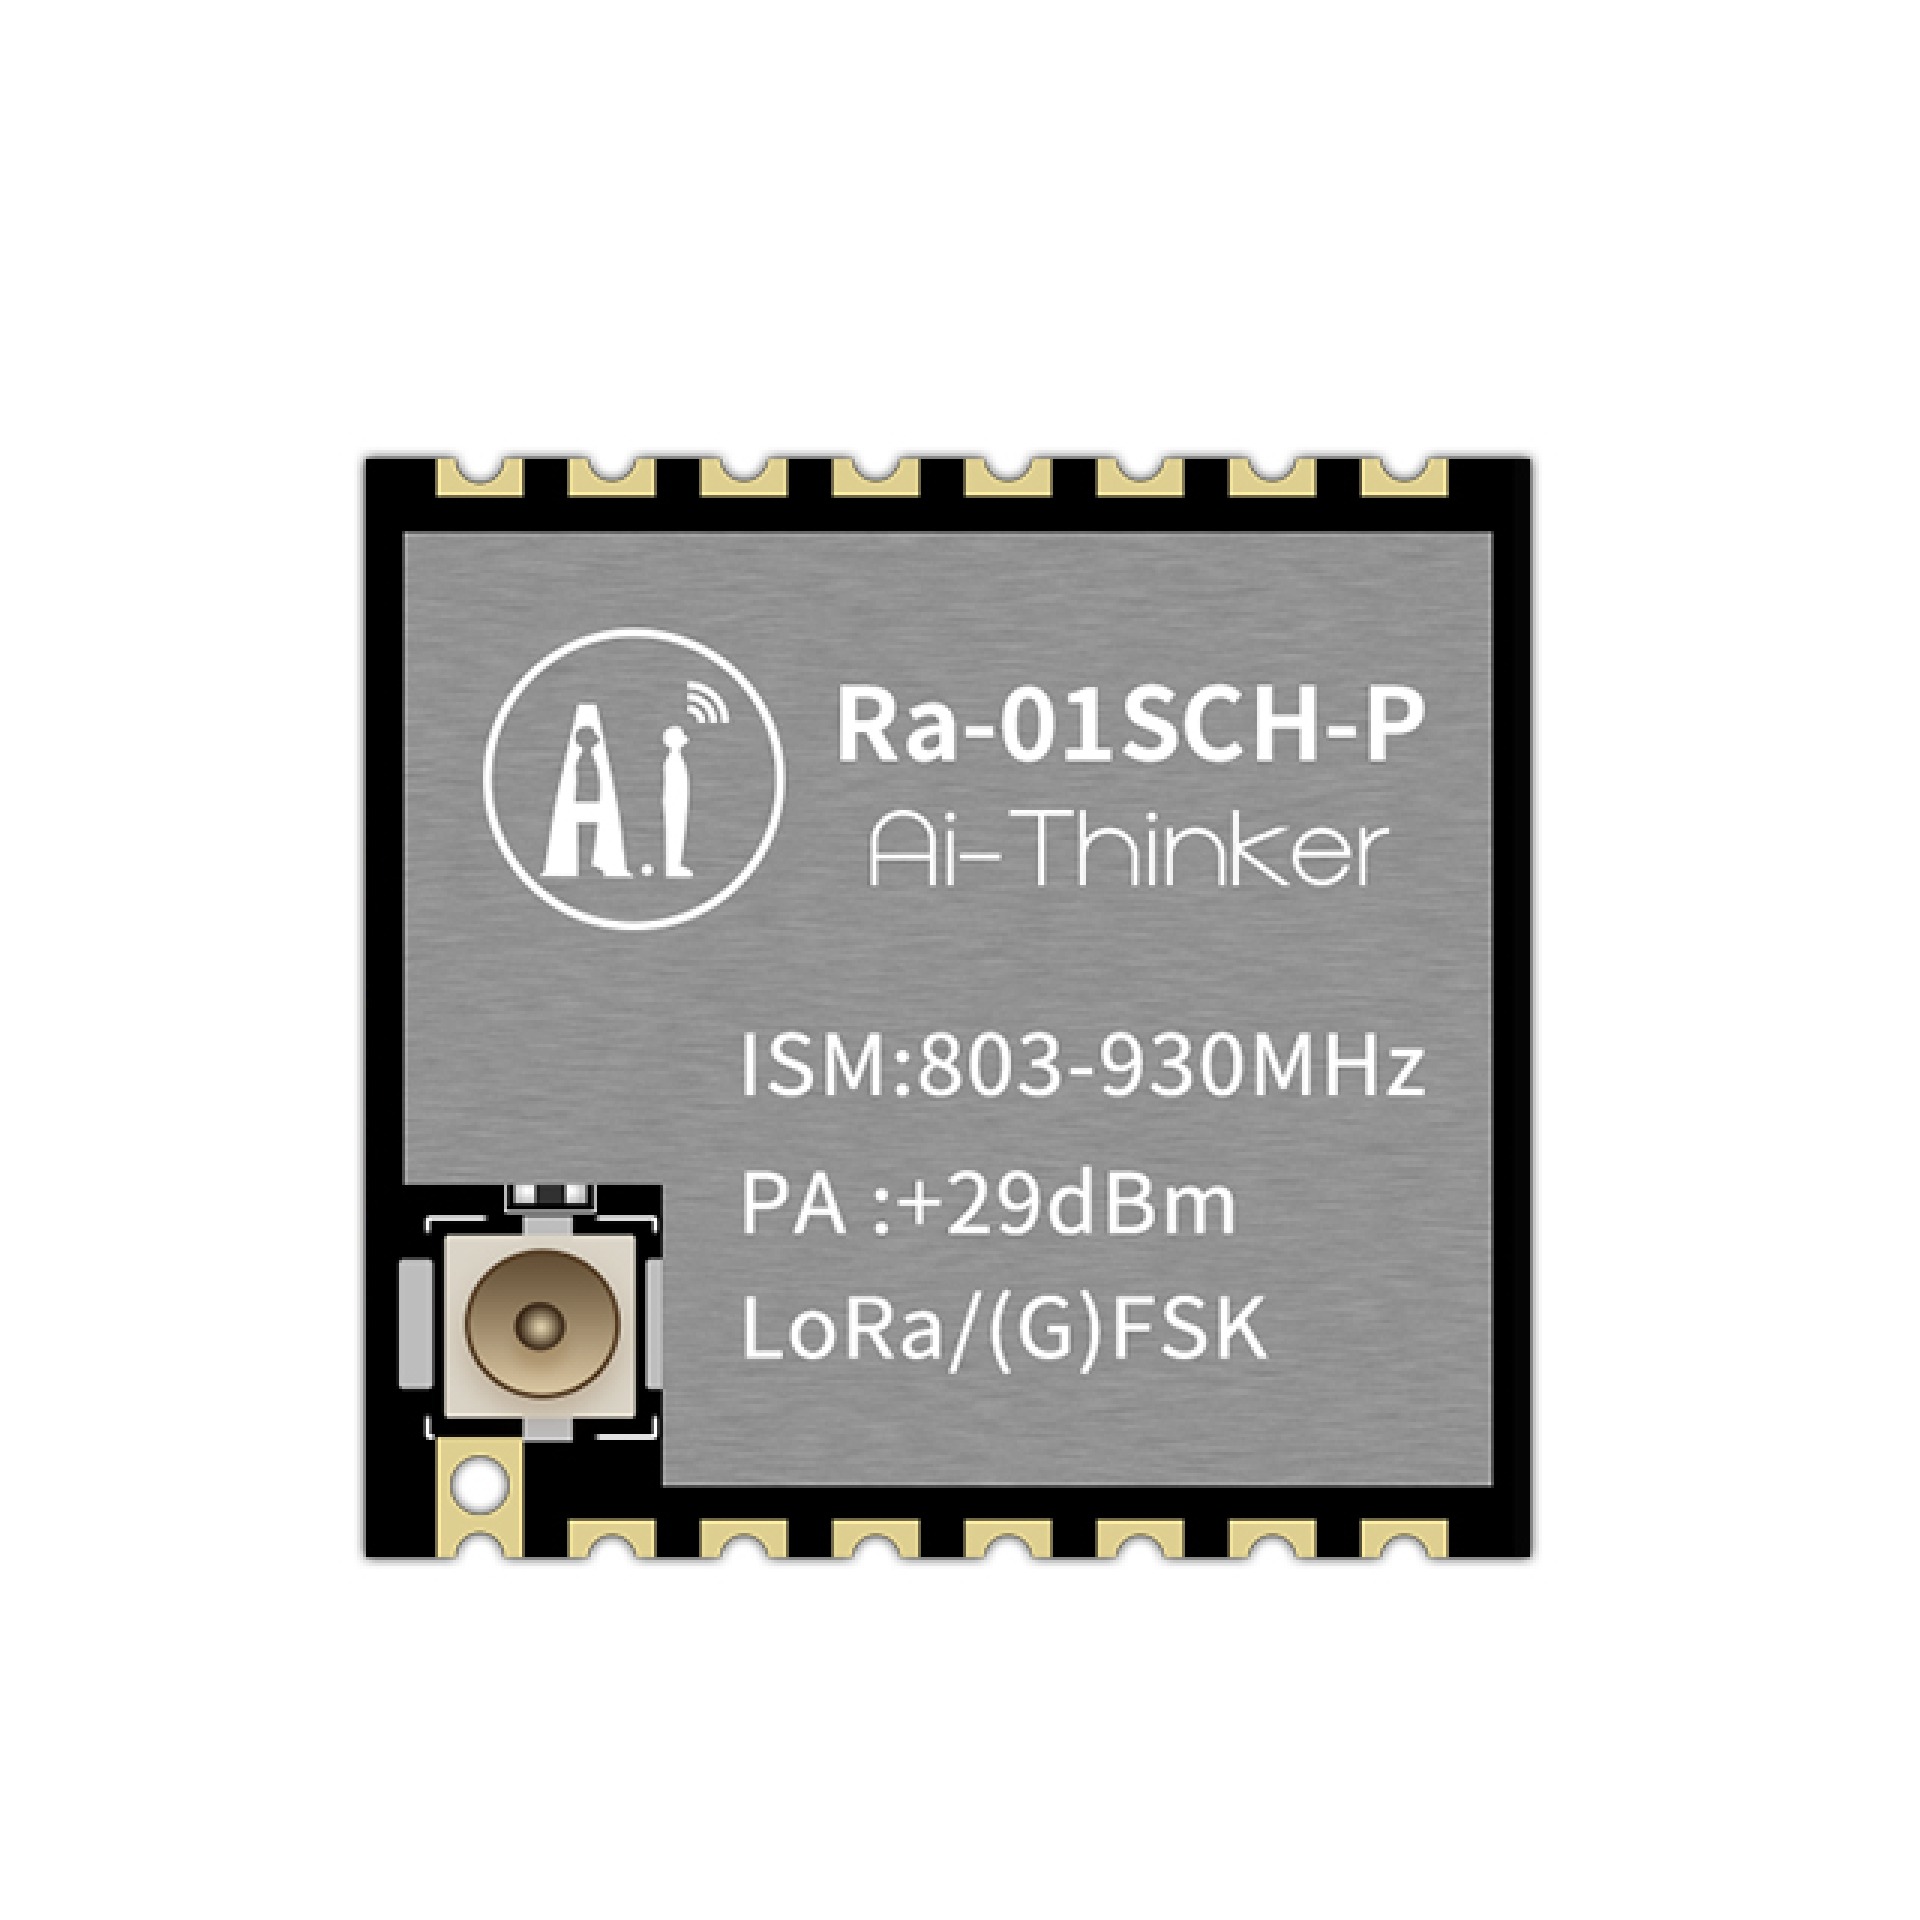
Want to send data across a kilometer without WiFi? The Ai-Thinker Ra-01SCH-P LoRa Module is a rock-solid choice. It works over SPI and pairs perfectly with the ESP32-S3 for long-range sensor networks, off-grid messaging, or LoRaWAN experiments. Fair warning: you'll need an antenna and a bit of patience with frequency regulations in your country.
Quick Tips for First-Timers
- Install the ESP-IDF or Arduino Core 3.x — both boards work with either, but Arduino is friendlier for beginners.
- Always use a data-capable USB-C cable. Half of "my board won't connect" issues are charge-only cables.
- Check your boot mode. If uploading fails, hold the BOOT button, tap RESET, then release BOOT.
- Don't power LoRa or TFT modules from 5V unless you've confirmed they're 5V-tolerant. Most are 3.3V logic.
Final Thoughts
Building your first ESP32-S3 project is one of the most rewarding experiences in modern electronics. Whether you go with the DevKitC-1 for its pro-grade debugging or the UNO form factor for its friendly familiarity, you're getting a seriously capable chip that will grow with your skills. Add a display, a rotary encoder, or a LoRa module, and you've got a project that looks and feels like a real product.
Ready to start building? Browse Products at Electra Store and grab everything you need in one order — no more waiting on three separate shipments.